




A good 5S visual floor system uses durable tape plus simple shapes and colors to show where people, equipment, pallets, tools, and materials belong. For most starter setups, the best combination is solid floor tape for long boundaries, corners or T shapes for storage positions, arrows for movement, and a small color system employees can understand at a glance.
The goal is not to cover the warehouse in tape. It is to make the correct location, direction, and condition of an area obvious without requiring someone to stop and ask what belongs there.
That is why 5S floor marking works best when you start with a few useful visual controls and expand only when another marking solves a real workplace problem.
If you are preparing a warehouse, production area, stockroom, or work cell, this guide explains which shapes to use, how to choose colors, and what belongs in a practical starter setup.

Why Floor Markings Matter in a 5S Workplace
5S is commonly organized around Sort, Set in Order, Shine, Standardize, and Sustain. Floor markings mainly support the "Set in Order" and "Standardize" stages because they give equipment, inventory, carts, and other items visible homes.
Instead of telling an employee that a pallet should be "near receiving," for example, a marked location can show the exact space the pallet should occupy.
That visibility makes abnormalities easier to notice. An empty marked position may tell a supervisor that equipment is missing. A pallet outside its assigned box can show that material has been stored incorrectly. A cart parked across a walkway becomes more obvious when its proper storage position is clearly marked.
This supports one of the practical ideas behind 5S: make the expected condition easy to recognize.
Floor Tape Store's introduction to 5S and lean workplace organization explains the broader method and how workplace organization helps expose waste and abnormalities.
For the floor itself, however, the important question is more specific: Which marking should you use for each job?
Which Floor Marking Shapes Should You Use?
You do not need to outline every object with four continuous strips of tape. Different shapes can communicate different types of locations while using less material and making future layout changes easier.
Floor Tape Store's current 5S markings collection includes corners, T shapes, half angles or X shapes, segments, arrows, footprints, dots, and larger visual markers.
Here is a practical way to decide which shape fits the job.
|
Floor Marking Shape |
Best Use |
Why It Works |
|
Corners |
Individual pallets, carts, bins, machines |
Clearly defines a footprint without surrounding the entire object |
|
T shapes |
Rows of pallets or side-by-side storage positions |
One T can help divide two neighboring positions |
|
Dots |
Barrels, movable stock, intersections, compact locations |
Uses less floor coverage and can be replaced individually |
|
Straight tape |
Aisles, walkways, boundaries, long storage lanes |
Creates a continuous line that is easy to follow |
|
Arrows |
Travel direction, workflow, pedestrian routes |
Communicates movement without relying only on text |
|
Footprints |
Pedestrian paths and walking routes |
Immediately associates the area with foot traffic |
|
X or half-angle shapes |
Position points or special storage layouts |
Useful when a simple corner does not communicate the position clearly |
Corners: Best for Individual Storage Locations
Corners are one of the most useful starting shapes because they define where an object belongs without creating long tape edges around the entire footprint.
Imagine ten mobile carts parked along a production wall. Four corner pieces around each parking position give every cart an obvious home while leaving most of the floor uncovered.
Corners are also easier to work with when layouts change frequently.
T Shapes: Best for Pallets in Rows
T shapes become especially useful when several storage locations sit beside each other.
Instead of using four independent corners for every pallet position, the center T shapes can divide adjoining spaces. This can reduce the number of individual pieces needed while maintaining a clear visual grid.
For receiving areas, staging lanes, and pallet storage zones, this is often one of the cleanest options.
Dots: Best for Flexible or High-Contact Locations
Dots work well when a complete line is unnecessary or when long strips of tape may receive repeated contact from skids and material handling.
Floor Tape Store's own lean warehouse guidance recommends dots for curved items and notes their usefulness where skids may be pushed or pulled across the floor.
A damaged dot can also be replaced individually instead of replacing an entire boundary line.
Arrows and Footprints: Best for Direction
Storage markings answer "Where does this belong?"
Directional shapes answer a different question: "Where should I go?"
Arrows can reinforce traffic direction through a warehouse, while footprints can make pedestrian routes recognizable without requiring employees to read a floor message every few feet.

What Colors Should a Starter 5S System Include?
Color is useful only when people know what it means.
A common mistake is buying every available tape color first and deciding what each one means later. A better approach is to define the minimum number of categories your operation actually needs.
It is also important to separate company 5S conventions from regulatory requirements. OSHA regulations contain specific safety-color requirements for certain hazards and signs, including red and yellow applications, but they do not establish one complete mandatory color chart for every 5S storage, inventory, workstation, or material category.
That gives facilities room to create a standardized visual system appropriate to their operations.
A practical starting chart might look like this:
|
Color |
Common Facility Use |
Starter Priority |
|
Yellow |
Aisles, traffic lanes, general boundaries |
High |
|
White |
Equipment, racks, carts, work areas |
High |
|
Red |
Defect, scrap, danger-related or restricted applications where appropriate |
Add when needed |
|
Green |
Safety-related locations or approved/finished material categories |
Add when needed |
|
Blue |
Work-in-process or equipment/material status |
Optional |
|
Orange |
Inspection, hold, or facility-defined special status |
Optional |
|
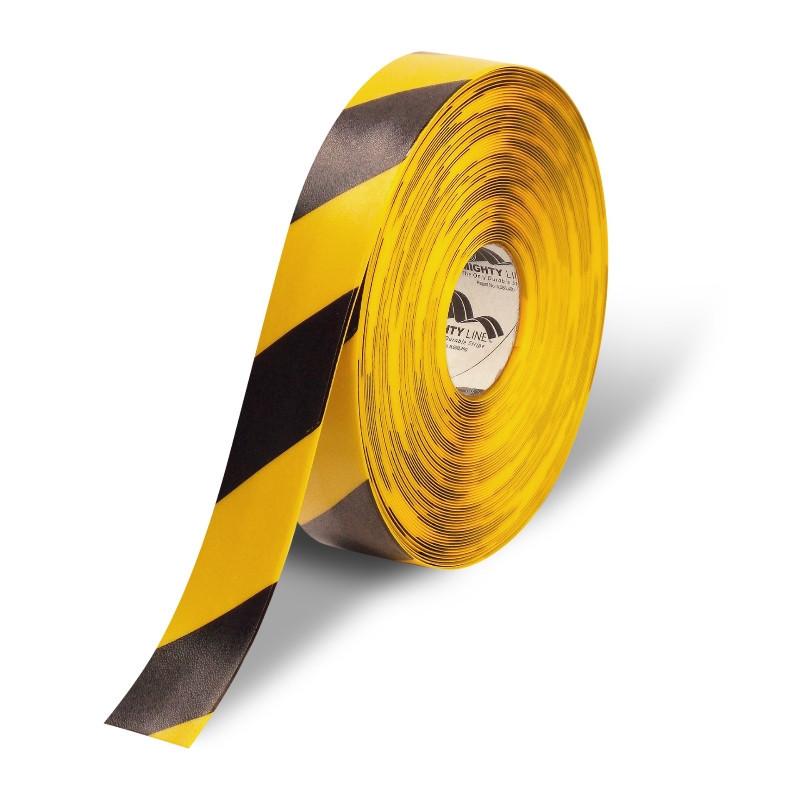
Black/Yellow Stripe |
High-visibility caution or hazard boundaries |
Application-specific |
These are common visual-management conventions, not a universal OSHA-mandated 5S palette. Similar industry guides emphasize that facilities should document their chosen meanings and use them consistently.
Why Yellow and White Are Good Starting Colors
If you are building a new system from scratch, yellow and white can cover a large portion of basic warehouse organization.
Yellow can provide strong visibility for major lanes or boundaries. White can separate ordinary equipment and storage locations from traffic markings.
You can then introduce additional colors only when they answer a specific operational question.
For example, if employees regularly confuse incoming material with inspected material, adding a dedicated color for inspection status may solve a real problem.
If there is no such confusion, another color may simply make the system harder to remember.
📌 Practical tip: Create a small color legend before installing the full layout. If a new employee cannot understand the basic categories after a short explanation, the system may be too complicated.
What Should Be in a 5S Starter Kit?
There is no single starter kit that fits every warehouse because a facility with long traffic aisles has different needs from a production cell with dozens of carts and material positions.
The best starter kit is therefore a combination of products matched to the floor plan.
For most facilities, start with four categories.
1. Durable Floor Tape
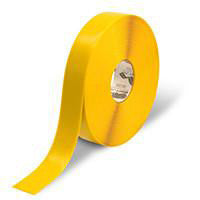
Continuous floor tape is the foundation for long boundaries, aisles, work cells, and storage lanes.
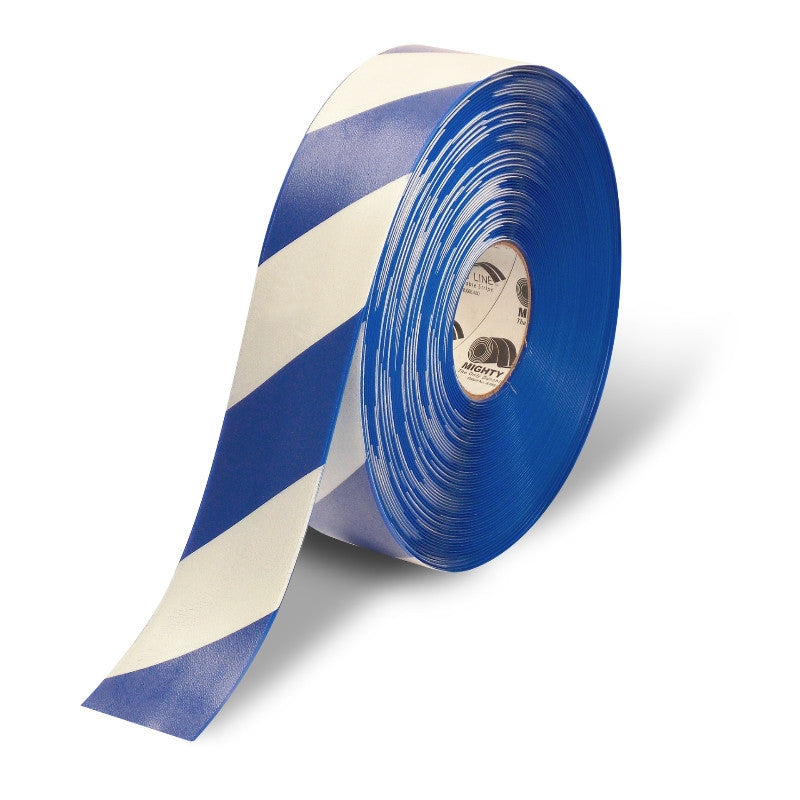
The industrial floor tape collection includes standard floor tape as well as options designed for different applications, such as heavy-duty, anti-slip, striped, printed, freezer, and high-visibility configurations.
Choose the product based on the environment rather than color alone.
A lightly used stockroom may have different durability needs from a manufacturing aisle crossed by forklifts throughout a shift.
2. Corners and T Shapes
Add corners when you need clearly defined homes for individual movable objects.
Add T shapes when you have rows of adjoining pallet or storage positions.
For example, a six-position staging area could use outer corners at both ends and T shapes between pallet locations. This creates six recognizable spaces without outlining every pallet with separate rectangles.
3. Dots or Segments
Dots and shorter segments give you flexibility where continuous tape is unnecessary.
They can identify positioning points, temporary organization zones, drum locations, or areas where a full line would receive excessive contact.
They are also useful during early 5S implementation because they allow you to create visible locations without committing to extensive continuous boundaries.
4. Arrows or Pedestrian Markings
If the area includes travel paths, add directional markings.
This is particularly useful where pedestrian movement intersects with storage, production, or material handling routes.
Floor markings should support your wider safety program rather than replace signs, training, physical barriers, or other controls where those measures are required.
How Much Floor Marking Should You Buy?
Buying too little creates an unfinished system. Buying too much before testing the layout can leave you with rolls and shapes that no longer match the final design.
Start by mapping the area.
For continuous lines, measure the actual linear footage of aisles, work cells, equipment boundaries, and storage lanes you plan to mark. Add a reasonable allowance for cuts, mistakes, repairs, and layout adjustments.
For shapes, count positions instead of estimating by floor area.
If you have 20 standalone carts and each position requires four corners, you need 80 corner pieces before adding spares.
If you have ten pallet positions arranged in one continuous row, you may be able to combine corners and T shapes rather than using 40 separate corners.
This is why a position-by-position count is more useful than simply ordering several boxes of assorted shapes.
Example: Small Warehouse Starter Area
Suppose you are reorganizing one receiving and staging zone.
You need two long boundary lines, six pallet positions, three mobile cart homes, and one pedestrian direction change.
Your starter order might include enough floor tape for the two long lines, corners and T shapes for the pallet grid, twelve corners for the three carts, and directional arrows for the walking route.
That small setup creates several types of visual control without introducing unnecessary products.
Once employees use the layout for a few weeks, you can see what needs to be added, moved, or simplified.
How to Set Up the System Step by Step
Do not begin installation by immediately applying permanent markings across the entire facility.
First, walk the workflow.
Watch where materials arrive, where they wait, where people walk, which equipment moves, and where congestion regularly happens. Your markings should support the actual process rather than an idealized drawing that employees cannot follow.
Next, decide which locations truly need a defined home. Prioritize objects or materials that are frequently misplaced, create wasted searching, obstruct movement, or cause confusion when stored incorrectly.
Then create the color legend and shape rules before installation.
For example:
✅ Yellow line = primary aisle boundary
✅ White corners = cart or equipment location
✅ T shapes = adjacent pallet positions
✅ Arrow = approved movement direction
Keep the first version simple enough that employees can remember it.
Floor Tape Store's guide on using marking tape to make a warehouse leaner also recommends choosing markings according to the type of item, traffic level, and space being organized.
Before applying adhesive markings, clean and prepare the floor according to the product requirements. Poor surface preparation can undermine even a good layout.
Finally, review the system after employees have worked with it.
5S is not successful because tape was installed. It succeeds when the markings continue to make correct placement and movement easier to understand.
Tape, Shapes, or Both: Which Option Is Best?
For most 5S projects, using both is the better option because continuous tape and individual shapes solve different problems.
Use tape when people need to follow a boundary.
Use shapes when they need to identify a position.
A long pedestrian path is easier to understand with continuous lines than dozens of individual corners. A movable cart, on the other hand, may need only four corners to show where it belongs.
Shapes can also make layout changes simpler because fewer adhesive pieces may need to be removed.
This distinction can prevent over-marking. Instead of asking, "Which product should we use everywhere?" ask, "What information does this location need to communicate?"
That question usually leads to a cleaner system.

Common Mistakes to Avoid
One of the biggest mistakes is creating too many color meanings. If employees need a long chart to decode the floor, the visual system is no longer doing its job efficiently.
Another problem is marking a poor process. Tape cannot fix a staging location that blocks workflow or a walkway positioned where employees naturally cannot use it.
Avoid choosing products only by purchase price as well. Consider traffic, floor condition, exposure, cleaning practices, and how often the layout changes.
Finally, do not assume that adding a colored line automatically satisfies every safety requirement. Floor markings are one visual tool. Applicable OSHA requirements, facility-specific hazards, signs, guarding, training, and other controls still need to be addressed separately.
Final Thoughts: Choosing the Right 5S Floor Marking System
A useful 5S floor marking system should make the workplace easier to understand, not simply more colorful.
Start with durable tape for long boundaries, corners and T shapes for storage positions, dots for flexible marking, and arrows or footprints where movement needs clarification. Then choose a limited color system and document exactly what each color means.
The best option is usually a mixed system rather than tape alone. Long lines define paths and zones, while individual shapes give pallets, carts, equipment, and materials clear homes with less unnecessary floor coverage.
Start with the areas causing the most confusion, test the layout, and expand only when another marking adds useful information.
Frequently Asked Questions
What does floor marking mean in a 5S program?
It creates visible locations and boundaries that make the expected workplace condition easier to recognize. Markings can identify where pallets, carts, tools, equipment, inventory, and pedestrian routes belong. This supports the Set in Order and Standardize portions of 5S by replacing vague storage instructions with visible locations. The most effective systems stay simple, use consistent colors and shapes, and are maintained as the workplace layout changes.
What floor marking shapes are used in 5S?
Common shapes include corners, T shapes, dots, segments, arrows, X shapes, and footprints. Corners work well around individual equipment or storage positions, while T shapes can separate adjoining pallet locations. Dots are useful for compact or flexible marking, and arrows communicate direction. The best shape depends on what employees need to understand. Use continuous tape for boundaries and individual shapes when the main goal is showing an object’s correct position.
What colors should a 5S starter system include?
Start with only the colors your facility can define and use consistently, often beginning with yellow and white for basic organization. Additional colors such as red, green, blue, or orange can be introduced when they represent a real operational category, such as a specific material status or safety-related location. Do not assume that every common 5S color chart is an OSHA requirement. Document your facility’s color meanings and train employees to use the same system throughout the workplace.
What products are needed to set up a 5S floor marking system?
Most starter systems need durable floor tape, position-marking shapes, directional markers, and a documented color legend. Continuous tape works best for aisles and long boundaries. Corners and T shapes create pallet, cart, and equipment homes without requiring full rectangles. Dots or segments help with flexible positions, while arrows or footprints clarify movement. Buy according to measured line footage and the number of marked positions rather than ordering a large assortment before the layout has been tested.